Set up on macOS
This is the full, click-by-click guide for macOS (any modern Mac). Nothing is assumed — follow along top to bottom.
What we're about to do
Install Docker → download backscatter → tell it where you live → start it → open it in your browser. About 15–20 minutes, mostly waiting.
Step 1 — Install Docker Desktop
Docker is a free program that runs backscatter for you. On a Mac it's called Docker Desktop.
- Go to the official download page: https://www.docker.com/products/docker-desktop/
- Click Download for Mac. If it offers a choice, pick:
- Apple Silicon — for M1, M2, M3 (and newer) Macs. (Most Macs from 2020 on.)
- Intel chip — for older Intel-based Macs.
- Open the downloaded
Docker.dmg, then drag the Docker whale icon into your Applications folder. - Open Docker from Applications (you may need to right-click → Open the first time, and confirm). Accept the terms when asked.
- You can skip the sign-in/account step — you don't need an account.
Which chip does my Mac have?
Click the Apple menu () in the top-left → About This Mac. If it mentions "Apple M1/M2/M3…" choose Apple Silicon; if it says "Intel", choose Intel chip.
You'll know Docker is ready when the whale icon appears in your menu bar (top-right) and stops animating.
Why these steps don't have screenshots
Docker Desktop's installer is made by Docker and its look changes over time. Rather than show screenshots that might not match, we link to Docker's own page, which always has current pictures. The backscatter steps below do have screenshots — those are ours and they don't change.
Keep Docker Desktop running
backscatter runs inside Docker, so Docker Desktop needs to be open (the whale in your menu bar) whenever you want to use it.
Step 2 — Download backscatter
- Open this page: https://github.com/kbennett2000/backscatter
- Click the green
< > Codebutton, then Download ZIP. - Find
backscatter-main.zipin your Downloads folder and double-click it to unzip. You'll get a folder calledbackscatter-main. - Move that folder somewhere easy to find, like your Documents folder.
Prefer the command line? (optional)
If you already use git, you can instead run
git clone https://github.com/kbennett2000/backscatter.git. If that means nothing to
you, ignore it — the ZIP download is all you need.
Step 3 — Tell it where you live
backscatter needs your location so it can show your nearest radar.
- Open the
backscatter-mainfolder in Finder. -
Find the file named
.env.example, copy it (⌘C then ⌘V), and rename the copy to exactly.env.Can't see
.env/ files starting with a dot?Finder hides files that start with a dot. In the
backscatter-mainfolder, press ⌘ + Shift + . (period) to show them; press it again to re-hide. -
Open
.envwith TextEdit (right-click → Open With → TextEdit). -
Find the line starting with
BACKSCATTER_LOCATIONS=and change the numbers to your own latitude and longitude:BACKSCATTER_LOCATIONS=[{"name":"Home","lat":39.3603,"lon":-104.5969,"default":true}]Replace
39.3603with your latitude and-104.5969with your longitude. Keep the quotes and brackets exactly as they are. 5. Save (⌘S) and close TextEdit.
How do I find my latitude and longitude?
Open Google Maps, right-click your town, and click the numbers at the top of the little menu — that copies them. First number is latitude, second is longitude.
More options (keeping radar longer, adding towns) are on the Configure it page — but the one line above is all you need to start.
Step 4 — Start it
- Open the Terminal app (press ⌘ + Space, type Terminal, press Enter).
- Type
cd(the letters c, d, then a space — don't press Enter yet), then drag thebackscatter-mainfolder from Finder into the Terminal window and press Enter. This points Terminal at the folder. -
Type this and press Enter:
docker compose up -d --build -
The first time, this downloads and builds everything — several minutes, lots of text. Normal. It's done when you get your prompt back and see lines ending in
Started.
That's the hard part over
From now on, starting backscatter is just docker compose up -d (no --build).
Step 5 — Open it
Open your web browser and go to:
Want a different port?
8085 is the default. If it's already taken — or you just prefer another number —
change BACKSCATTER_PORT in your .env file, run docker compose up -d again, and
use that number here instead.
You should see a map centered on your location, like this:
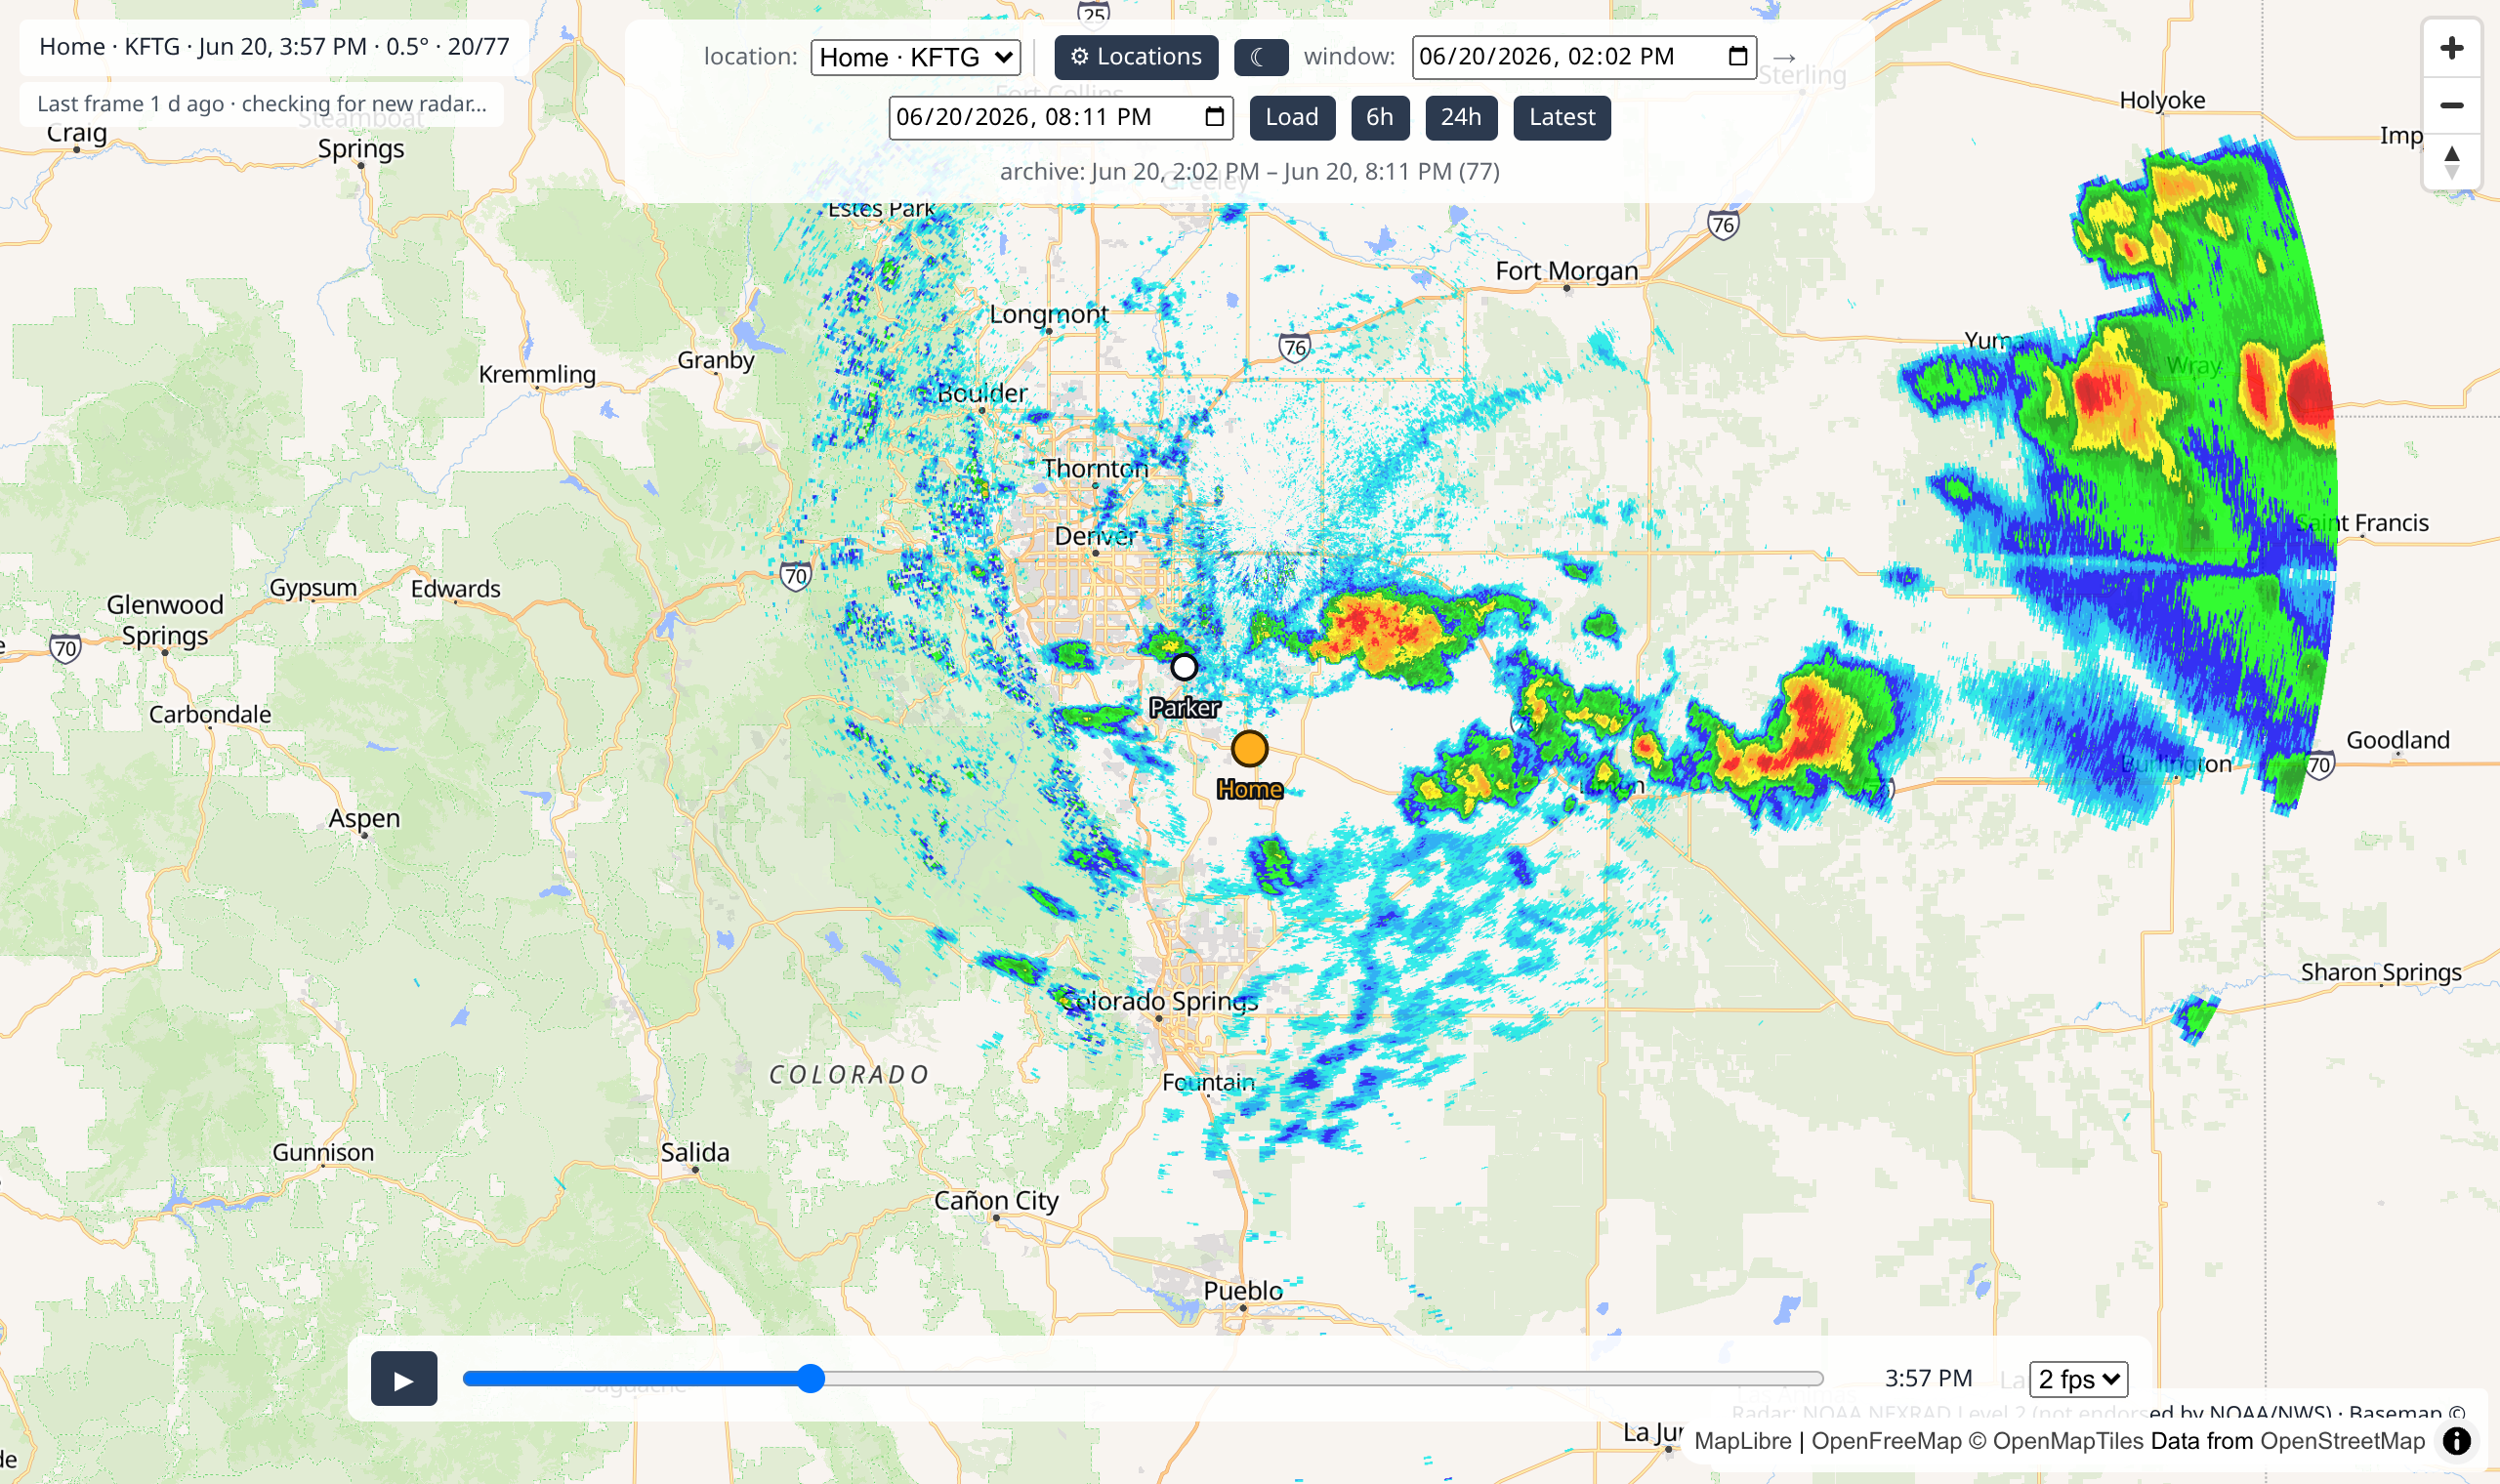
🎉 You did it!
What now?
- It starts empty and fills in over time — a new radar picture every few minutes while it runs. Leave it going and check back.
- Want a past storm now? You can backfill older radar — see Help & FAQ.
- Learn the map, timeline, and playback on the Using backscatter tour.
- To stop it: in the same Terminal folder, run
docker compose down. Your saved radar stays put.
Hit a snag? The Help & FAQ covers the common ones in plain language.